


Feb 04, 2026
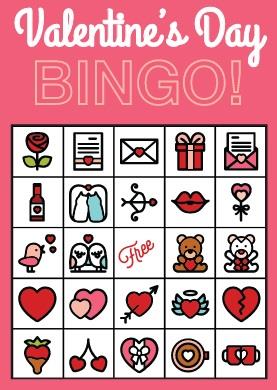
That’s right, this isn’t your typical game of bingo. A lovey-dovey twist on a classic game! Put smiles on your little loves faces this Valentine's Day with Valentine Bingo. Ending with some sweet prizes that your kids will LOVE! This activity is fun and easy, even for younger sweethearts. Get started by crafting your very own bingo cards with this easy step-by-step guid,e and start playing!
Materials Needed:
- Bingo cards (create by using cardstock or printed out)
- Valentine's-themed images (hearts, cupids, roses, chocolates, etc.)
- Scissors, markers or crayons, and glue or double-sided tape
- Small objects to use as Bingo markers (buttons, candies, or stickers)
- A container to hold the images for drawing (a bowl or a bag)
Instructions:
- Creating Bingo Cards:
- Draw or print a 5x5 grid on each bingo card
- In each square of the grid, place a different Valentine's-themed image. You can draw these, use stickers, or print and cut out images.
- Mix up the order of the images on each card so that no two cards are exactly the same.
- Prepare the Images for Drawing:
- Print or draw small versions of the Valentine-themed images and cut them out. These will be used for drawing during the game.
- Place the cut-out images into the container
- Game Setup:
- Give each child a Bingo card and a handful of markers (buttons, candies, or stickers) and explain the rules.
- Rules: When an image is drawn, place a marker on the corresponding image on the bingo card. First one to get a full row, column, or diagonal shouts "Bingo!" and wins a prize.
- Start the Game:
- Draw one image at a time from the container, show it to the kids, and allow them to place a marker on the corresponding image on their bingo card.
- Continue drawing and marking until someone gets Bingo!
- Prizes and Fun:
- Have small prizes ready for the winners and encourage the kids to cheer for each other and celebrate all the winners.
- Prizes can be cute plush toys, colorful pens & notebooks, candy or chocolate, heart-shaped jewelry, and Valentine-themed stickers, coloring books, or temporary tattoos.
Valentine Twist on a Classic Dessert!
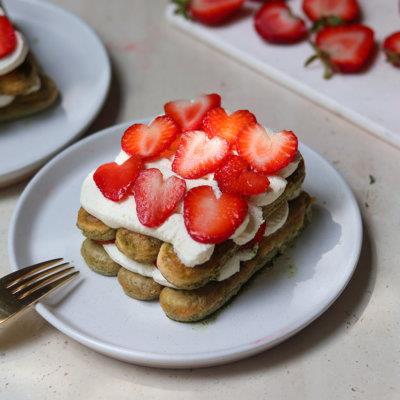
This unique and unbelievably easy Strawberry Matcha Tiramisu recipe is made with matcha-soaked lady fingers, creamy mascarpone mixture, and layers of fresh California strawberries. It requires no baking and can be made in advance.
Prep Time: 30 minutes
Cool Time: 8 hours 30 minutes
Total Time: 9 hours
Yield: 1 Tiramisu "Cake"
Ingredients
- 2 cups sliced strawberries (1 pint)
- ½ cup heavy whipping cream
- 1 cup mascarpone cheese
- ½ cup confectioners’ sugar
- ½ tsp vanilla extract
- ½ cups cold matcha
- 24 ladyfingers
Instructions:
- Wash and slice strawberries. Prepare your matcha as per instructions and let it cool.
- In a medium bowl, combine cream, sugar, and vanilla extract. Beat with an electric mixer or stand mixer on medium-high speed for 1 to 1 ½minutes until smooth and thickened. Gently fold in mascarpone.
- Dip each ladyfinger in cooled matcha for a few seconds on each side to coat them. Line the ladyfingers in a single layer, in the bottom of an 8”x 8” or similarly sized baking dish.
- Spread half of the mascarpone mixture over the ladyfingers and layer with half of the sliced strawberries.
- Repeat with the remaining ladyfingers, mascarpone mixture, and another layer of sliced strawberries.
- You can also assemble individual portions - layer 3 soaked lady fingers on a plate, add a layer of mascarpone mixture and a layer of sliced strawberries, and repeat.
- Cover and chill for at least 8 hours or overnight.